For partners · 6 min read
Setting up your storefront
Buy a template, customise it in the storefront editor, then publish it to a domain.
Your storefront is your public page in the Exchange Directory. You build it from the Partner Console in three stages: choose a template, customise it in the editor, then publish it to a domain.
Browse and buy a template
Open Template Store in the sidebar to browse professionally designed templates. Each one comes with its own default branding — colours, fonts, and sizes — plus pre-filled content sections that you then make your own.
- 1Select “Preview” on any template to open a live sandbox and see how it looks.
- 2The “Included” template is free and available straight away; paid templates show a price (for example £50).
- 3For a paid template, choose “Buy Template” — you are taken to PayPal to approve the payment, then returned to the store, where the button switches to “Purchased”.
Once purchased, a template is yours to use on any storefront you build.
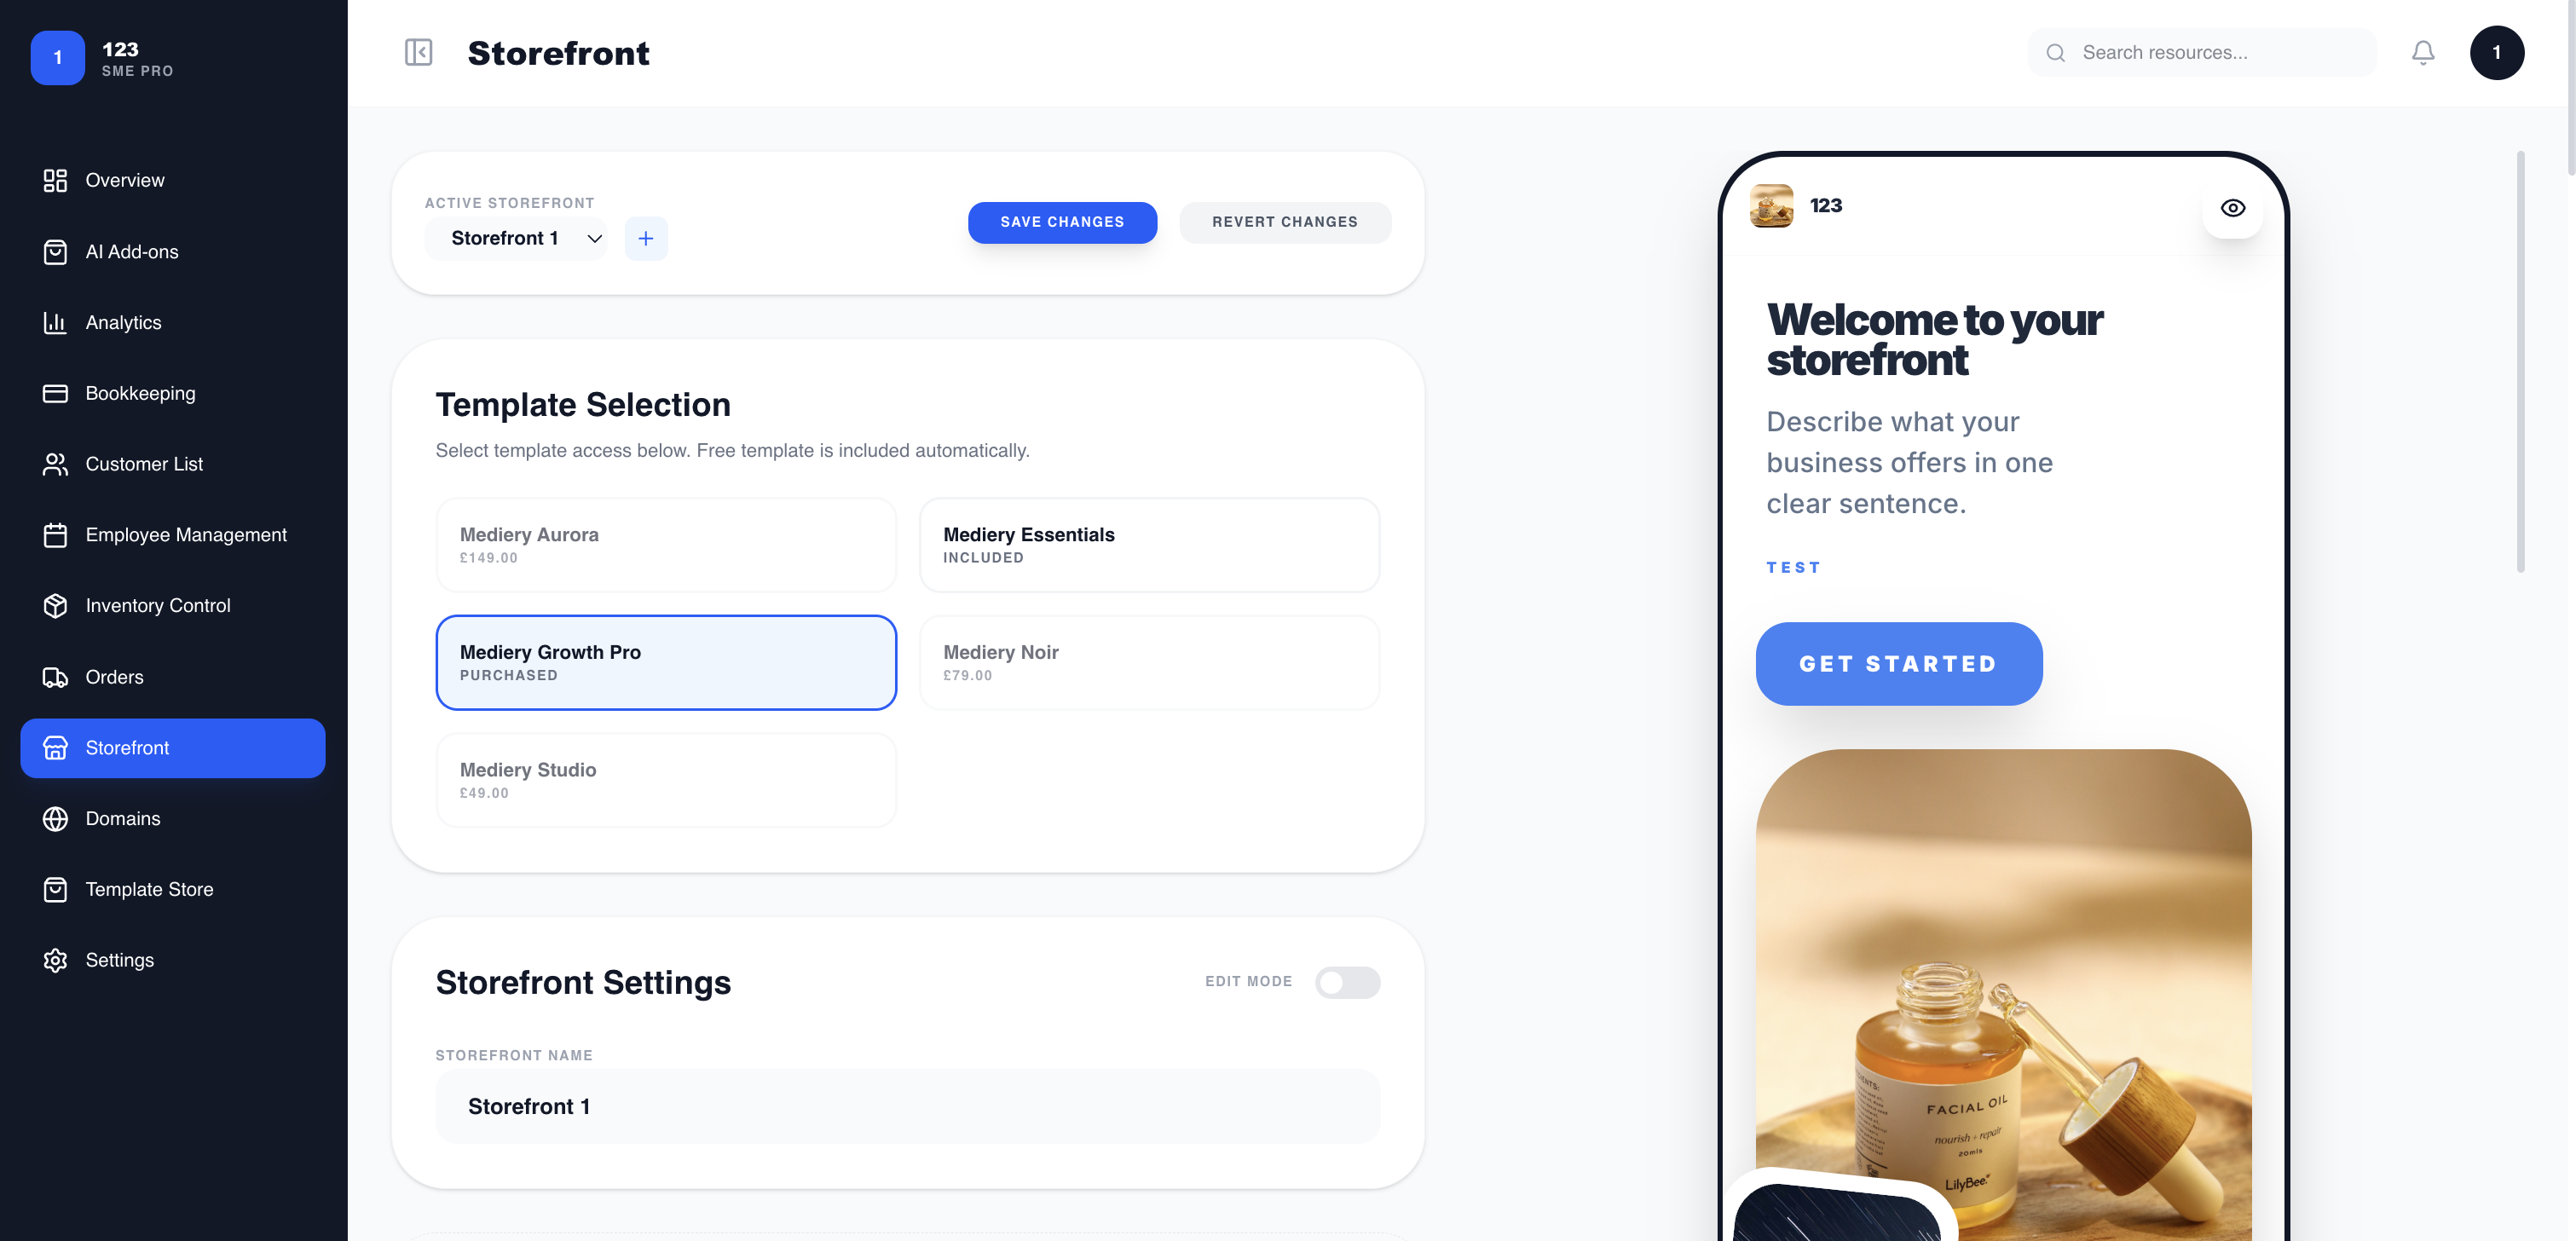
Customise it in the editor
Open Storefront to customise. The controls are on the left and a live preview on the right updates as you edit — you can also switch to a full-screen laptop preview. Start by choosing your template under Template Selection; it seeds the editor with that template’s default styles and content.
Default styles, and overriding them
The template’s defaults are only a starting point — every part can be overridden:
- Brand Identity — set your company name, slogan, and logo.
- Brand Styling — override the colour palette and the typography for each area (header, sub-heading, body, footer), each with its own size and colour. Global Font Sync applies one font everywhere at once, and there is a Dark Mode toggle and a text-size preset.
- Storefront Content — edit each section’s text and images (About Us, hero, team members, and so on), adding or removing items as needed.
Prefer to edit on the page itself? Turn on Edit Mode and click text directly in the preview to change it inline. To get a head start, the Auto-Fill shortcut can pre-populate your content sections from a short business description. When you are happy, choose Save Changes (or Revert Changes to discard).
Use Inventory Visibility to choose which of your active products appear on the storefront — toggle each one Visible or Hidden. Add products first in Inventory Control; see “Managing inventory & orders”.
Publish to a domain
When it is ready, choose “Publish storefront”. Pick one of your available subdomains or create a new one (lowercase letters, numbers, and hyphens), and your storefront goes live at that address. You can change the domain or unpublish it later, and connect a custom domain from the Domains section.